Back to Blog
Guides
Gabriel CiociLast updated on May 1, 202615 min read

How to Web Scrape with Puppeteer and NodeJS 2026 Guide

How to Web Scrape with Puppeteer and NodeJS 2026 Guide
TL;DR: Puppeteer gives you full control of a headless Chrome instance from Node.js, making it the go-to tool for scraping JavaScript-rendered pages. This guide walks you through installation, selector-based extraction, infinite scroll, form login, request interception, stealth plugins, structured data export, and Docker deployment, so you can move from a toy script to a production-grade scraper.

Web scraping is the practice of programmatically extracting data from websites, and when those sites rely on client-side JavaScript to render their content, a simple HTTP request will not cut it. You need a real browser, or at least something that acts like one. That is exactly the problem Puppeteer was built to solve.

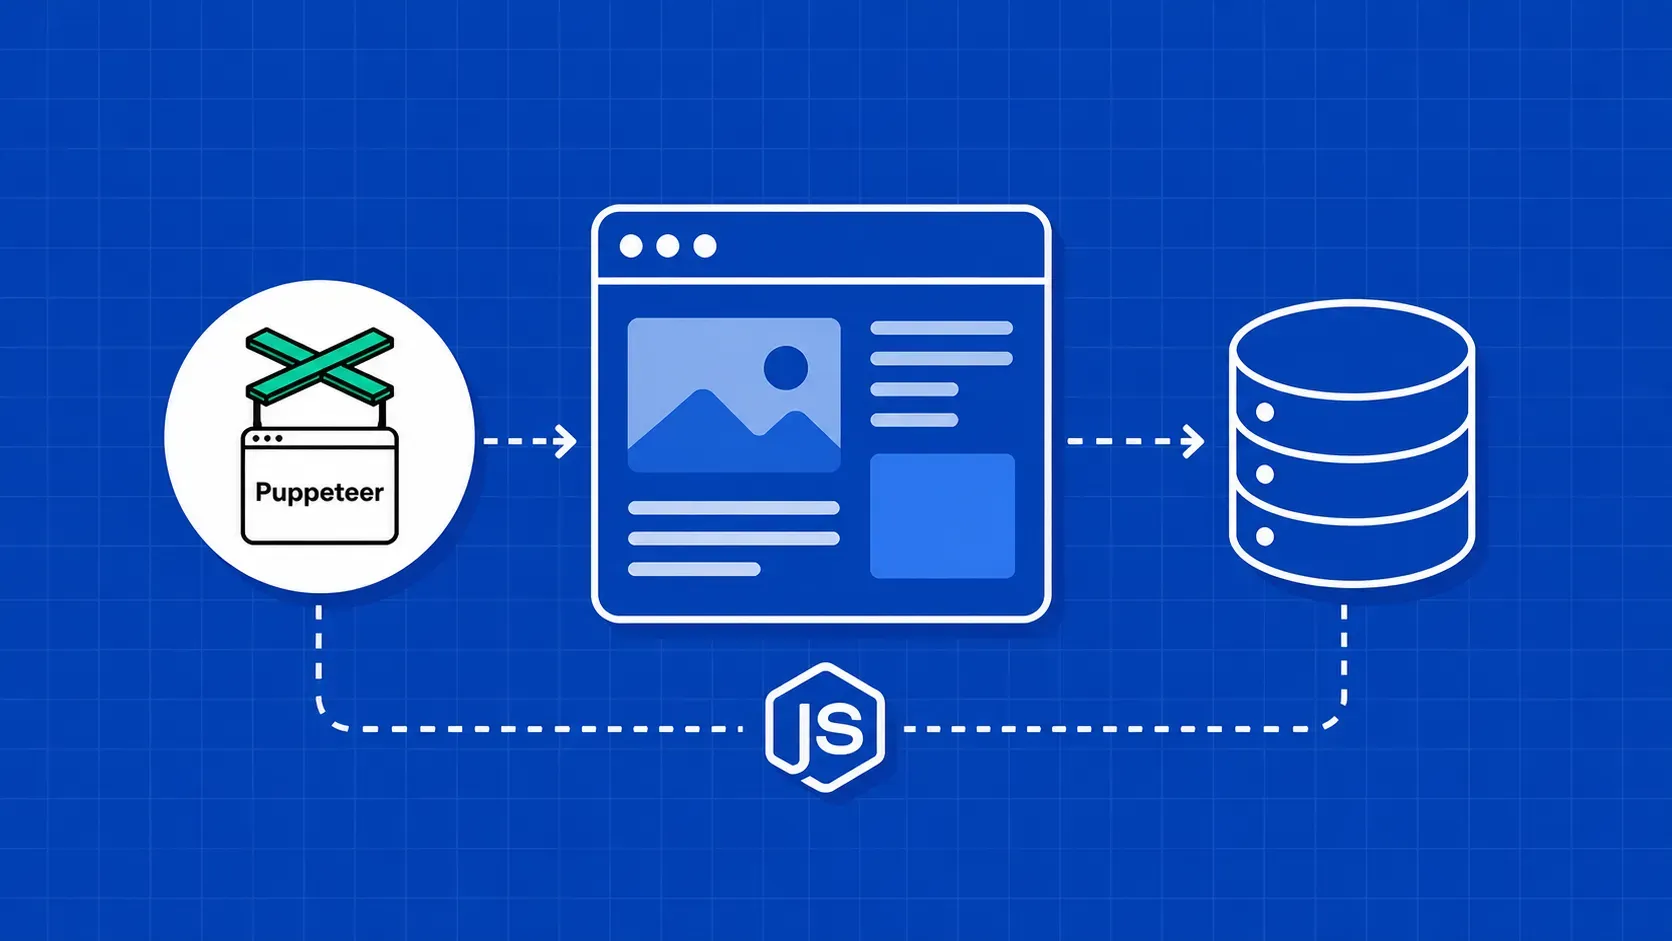
Puppeteer is a Node.js library that lets you web scrape with Puppeteer and NodeJS by driving a headless (or headful) Chrome instance through the Chrome DevTools Protocol. It can click buttons, fill forms, scroll pages, and evaluate arbitrary JavaScript in the page context, then hand the results back to your script. For developers already comfortable with JavaScript, it is one of the most natural paths into headless browser scraping javascript workflows.

In this tutorial, you will learn how to set up a Puppeteer project from scratch, extract data from static and dynamic pages, handle pagination and infinite scroll, intercept hidden API calls, avoid bot detection, export your results to JSON and CSV, and deploy the whole thing inside a Docker container. Every code example targets Node.js 18 or later, and we reference the Puppeteer v24 API surface throughout. Whether you are building a price tracker, a lead-generation pipeline, or an academic research tool, the patterns in this guide will get you to production faster.

How Puppeteer Works Under the Hood

When you call puppeteer.launch(), the library spins up a Chromium (or Chrome) process and connects to it over the Chrome DevTools Protocol (CDP). CDP is a WebSocket-based interface that exposes nearly every browser capability: DOM inspection, network monitoring, input simulation, and more. Your Node.js script sends commands through this socket, and Chromium replies with results.

This architecture means Puppeteer is not a simplified browser simulator. It runs real V8 JavaScript, a real rendering engine, and a real network stack. Pages that depend on fetch, Web Workers, or Shadow DOM behave the same way they would in a user's browser. That is what makes it such a reliable choice when you want to web scrape with Puppeteer and NodeJS on sites that render content dynamically.

Puppeteer supports both headless mode (no visible window, faster, ideal for servers) and headful mode (a visible browser window, useful for debugging). By default, recent Puppeteer versions ship with a bundled Chromium binary, so you do not have to install a browser separately. If you want to understand what a headless browser is in more detail, there are excellent resources that explain the architecture and common use cases.

Setting Up Your Node.js Project and Installing Puppeteer

Before writing any scraping code, confirm that you have Node.js 18 or higher installed. At the time of writing, Puppeteer v24 requires Node.js 18.0 as a minimum.

node --version   # should print v18.x or higher
mkdir puppeteer-scraper && cd puppeteer-scraper
npm init -y
npm install puppeteer

Running npm install puppeteer downloads the library plus a compatible Chromium binary (approximately 170 MB). If you already manage your own Chrome installation or want a slimmer install, you can use puppeteer-core instead, which skips the bundled browser download. This is common in Docker and CI environments where you install Chromium through the system package manager.

Your project folder should now contain a node_modules directory and a package.json with Puppeteer listed as a dependency. Create a file called scraper.js (or scraper.mjs if you prefer ES modules) and you are ready to build your first nodejs web scraper Puppeteer project.

One quick note: the Puppeteer team updates the bundled Chromium with each release, so pinning a specific version (for example npm install puppeteer@24.26.1) helps keep your CI builds reproducible across environments.

Your First Scraper: Launch, Navigate, and Extract HTML

The classic starter target for puppeteer web scraping is Quotes to Scrape, a sandbox site built specifically for practicing extraction techniques.

const puppeteer = require('puppeteer');

(async () => {
  const browser = await puppeteer.launch({ headless: true });
  const page = await browser.newPage();
  await page.goto('https://quotes.toscrape.com', {
    waitUntil: 'domcontentloaded',
  });

  const html = await page.content();
  console.log(html.substring(0, 500));

  await browser.close();
})();

Here is what happens step by step:

  1. puppeteer.launch() starts a headless Chromium process.
  2. browser.newPage() opens a blank tab.
  3. page.goto() navigates to the target URL. The waitUntil option tells Puppeteer when to consider navigation complete. Using domcontentloaded is faster than networkidle0 but may miss lazily loaded content.
  4. page.content() returns the fully rendered HTML of the page.
  5. browser.close() shuts down the browser process and frees resources.

This skeleton is the foundation for every Puppeteer scraper you will build. The pattern stays the same: launch, navigate, extract, close. What changes is the extraction logic in the middle, which we will expand in the following sections.

Run the script with node scraper.js and you should see raw HTML printed to your terminal. If you get errors about missing shared libraries on Linux, jump ahead to the deployment section for the fix.

For a complete reference of browser and page methods, the official Puppeteer API documentation is the most reliable source.

Waiting for Dynamic Content and Parsing Elements

Static pages are the easy case. Dynamic websites load content after the initial HTML response, sometimes through XHR calls, sometimes through client-side rendering frameworks. Puppeteer provides several wait strategies to handle this when you web scrape with Puppeteer and NodeJS against modern single-page applications.

The most reliable approach is page.waitForSelector(), which pauses execution until a specific CSS selector appears in the DOM:

await page.goto('https://quotes.toscrape.com');
await page.waitForSelector('.quote');

Once the elements are present, use page.evaluate() to run JavaScript inside the browser context and pull data back to Node.js:

const quotes = await page.evaluate(() => {
  const items = document.querySelectorAll('.quote');
  return Array.from(items).map(item => ({
    text: item.querySelector('.text').innerText,
    author: item.querySelector('.author').innerText,
    tags: Array.from(item.querySelectorAll('.tag')).map(t => t.innerText),
  }));
});

console.log(quotes);

A few things to note about page.evaluate():

  • The callback runs in the browser, not in Node.js. You cannot reference Node.js variables or modules inside it.
  • The return value must be serializable (plain objects, arrays, strings, numbers). You cannot return DOM elements directly.
  • If a selector does not match anything, querySelector returns null, which will throw when you try to read .innerText. Wrapping access in optional chaining (?.) or a null check prevents silent crashes in production.

For pages that load content on a timer rather than on a DOM event, page.waitForTimeout() works as a fallback, but prefer selector-based waits whenever possible since they are faster and more deterministic. If you are deciding between a full browser automation library and a lighter parser, guides that compare Cheerio vs Puppeteer can help you choose the right tool for the job.

Scraping Common Dynamic Patterns

Most real-world scraping targets do not serve all their data on a single page load. You will encounter pagination, infinite scroll, login walls, and other interactive patterns. Below are the three most common ones you need to handle when you web scrape with Puppeteer and NodeJS against production websites.

Paginated Content and Multi-Page Crawling

Pagination is the most frequent pattern you will hit. The strategy is straightforward: extract data from the current page, find the "Next" link, navigate to it, and repeat until there are no more pages.

let currentPage = 1;
const allQuotes = [];

while (true) {
  await page.waitForSelector('.quote');
  const pageQuotes = await page.evaluate(() =>
    Array.from(document.querySelectorAll('.quote')).map(q => ({
      text: q.querySelector('.text').innerText,
      author: q.querySelector('.author').innerText,
    }))
  );
  allQuotes.push(...pageQuotes);

  const nextButton = await page.$('li.next > a');
  if (!nextButton) break;

  await Promise.all([
    page.waitForNavigation({ waitUntil: 'domcontentloaded' }),
    nextButton.click(),
  ]);
  currentPage++;
}

console.log(`Scraped ${allQuotes.length} quotes across ${currentPage} pages.`);

The key detail is wrapping click() and waitForNavigation() inside Promise.all. If you click first and then wait, Puppeteer might miss the navigation event because it already fired. This race-condition guard is essential for reliable multi-page crawling.

Adding retry logic makes this pattern production-ready. Wrap the navigation in a try/catch, set a timeout on waitForNavigation, and retry the page up to three times before logging the failure and moving on. This kind of error handling is what separates puppeteer scraping examples in blog posts from scrapers that run unattended overnight.

Infinite Scroll Pages

Infinite scroll replaces pagination with a "load more" trigger fired by scrolling to the bottom of the page. Social media feeds and product listing pages commonly use this pattern. To scrape a dynamic website with Puppeteer, you scroll programmatically and wait for new content to appear.

async function autoScroll(page, maxScrolls = 10) {
  let previousHeight = 0;
  let scrollCount = 0;

  while (scrollCount < maxScrolls) {
    previousHeight = await page.evaluate(() => document.body.scrollHeight);
    await page.evaluate(() => window.scrollTo(0, document.body.scrollHeight));
    await new Promise(r => setTimeout(r, 1500));

    const newHeight = await page.evaluate(() => document.body.scrollHeight);
    if (newHeight === previousHeight) break;
    scrollCount++;
  }
}

The function compares scrollHeight before and after each scroll. When the height stops changing, either all content has loaded or a "Show More" button needs to be clicked. Add a maxScrolls cap to avoid infinite loops on pages with genuinely endless feeds. You can also track the number of items on the page (via querySelectorAll) as a secondary termination signal, which catches cases where new content loads but does not change the overall page height.

Clicking Buttons, Filling Forms, and Logging In

Scraping behind a login wall requires form interaction. Puppeteer's page.type() simulates keystroke-by-keystroke typing, and page.click() triggers real mouse events, which is important because some sites listen for input events rather than just checking field values.

await page.goto('https://quotes.toscrape.com/login');
await page.type('#username', 'testuser');
await page.type('#password', 'testpass');
await Promise.all([
  page.waitForNavigation(),
  page.click('input[type="submit"]'),
]);

After login, the browser session retains cookies automatically for subsequent navigation. You can continue accessing authenticated pages without re-entering credentials during that session. If the site presents a cookie consent banner first, click the "Accept" button before interacting with the login form.

For more complex form workflows (multi-step wizards, file uploads, dropdown selections), Puppeteer offers methods like page.select() for <select> elements and elementHandle.uploadFile() for file inputs. You can explore form submission with Puppeteer in dedicated guides that cover these advanced interactions.

Intercepting Network Requests and Capturing Hidden APIs

Here is a technique that most web scraping with Puppeteer tutorials skip entirely: instead of parsing the DOM, intercept the network requests the page makes and grab the structured JSON payloads directly from the site's own API calls.

Many modern websites fetch their data through XHR or Fetch requests and render it client-side. If you can capture those payloads, you skip the fragile CSS-selector dance altogether.

await page.setRequestInterception(true);

page.on('response', async (response) => {
  const url = response.url();
  if (url.includes('/api/products') && response.status() === 200) {
    try {
      const data = await response.json();
      console.log('Captured API response:', data);
    } catch (e) {
      // Not a JSON response, skip
    }
  }
});

page.on('request', (request) => {
  const blocked = ['image', 'font', 'stylesheet'];
  if (blocked.includes(request.resourceType())) {
    request.abort();
  } else {
    request.continue();
  }
});

await page.goto('https://example-spa.com');

This approach is powerful for two reasons. First, the response is already structured JSON, so you do not need to write selectors at all. Second, it tends to be more stable over time because API contracts change less frequently than UI markup.

To discover which endpoints a page calls, open your browser's DevTools Network tab on the target site, filter by "Fetch/XHR," and look for responses that contain the data you need. Then filter for those URL patterns in your interception handler. This hidden-API harvesting technique is one of the strongest differentiators you can add to your puppeteer node.js scraping toolkit. It lets you web scrape with Puppeteer and NodeJS more efficiently by avoiding DOM parsing entirely for API-backed pages.

Performance Optimization and Parallel Scraping

A single Puppeteer page processes requests sequentially. When you need to scrape thousands of URLs, that serial approach becomes a bottleneck. Here are the two highest-impact optimizations for scaling your nodejs web scraper Puppeteer workflow.

Block unnecessary resources. Images, fonts, stylesheets, and media files consume bandwidth and slow down page loads without contributing any scrapable data. Disabling image and video loading is one of the most effective ways to speed up Puppeteer scrapers, and it does not cause data loss since those resources remain accessible in the DOM markup. Use request interception to abort these resource types (as shown in the previous section). This single change can cut page load times in half on media-heavy sites.

Run multiple pages concurrently. Puppeteer is async by nature, and Node.js handles concurrency well through Promise.all. Instead of processing URLs one at a time, open several pages and scrape them in parallel:

const urls = ['https://example.com/1', 'https://example.com/2', 'https://example.com/3'];
const browser = await puppeteer.launch({ headless: true });

const scrape = async (url) => {
  const page = await browser.newPage();
  try {
    await page.goto(url, { waitUntil: 'domcontentloaded', timeout: 15000 });
    const title = await page.evaluate(() => document.title);
    return { url, title };
  } catch (err) {
    return { url, error: err.message };
  } finally {
    await page.close();
  }
};

const results = await Promise.all(urls.map(scrape));
console.log(results);

Notice the try/catch/finally block. In production, individual pages will occasionally time out or fail. Wrapping each task ensures one bad URL does not crash the entire batch. The finally block guarantees the page closes even on error, preventing memory leaks.

A practical concurrency limit is 5 to 10 pages per browser instance, depending on your machine's RAM. Beyond that, consider launching multiple browser instances or batching URLs into sequential chunks. Each Chromium page consumes roughly 30 to 80 MB of memory, and that adds up quickly when you run dozens of concurrent tabs. For truly large-scale jobs, you may want to move to a managed browser cloud instead of hosting Chrome locally.

Avoiding Bot Detection: Proxies and Stealth Plugins

Even though Puppeteer runs a real browser, websites can still detect automated traffic through JavaScript fingerprinting, header analysis, and behavioral heuristics. If you have ever seen a scraper work fine for 20 requests and then start returning CAPTCHAs, bot detection is the reason.

Stealth plugins are the first line of defense. The puppeteer-extra-plugin-stealth package patches several known detection vectors: the navigator.webdriver flag, Chrome plugin arrays, WebGL renderer strings, and more. At the time of writing, verify that the stealth plugin version you install is compatible with your Puppeteer version, as the two libraries can fall out of sync after major releases.

const puppeteer = require('puppeteer-extra');
const StealthPlugin = require('puppeteer-extra-plugin-stealth');
puppeteer.use(StealthPlugin());

const browser = await puppeteer.launch({ headless: true });

Proxy rotation is the second layer. Rotating your outgoing IP address across requests makes it much harder for a site to correlate and block your traffic. You can pass a proxy at launch time in your puppeteer stealth scraping setup:

const browser = await puppeteer.launch({
  args: ['--proxy-server=http://proxy-address:port'],
});

One limitation to be aware of: Puppeteer's native API does not support per-request proxy switching. The proxy is set at the browser level, so changing it requires restarting the browser instance. For high-volume puppeteer proxy rotation, this becomes impractical without an external proxy management layer or a dedicated residential proxy pool.

Beyond technical measures, you should also add reasonable delays between requests and respect robots.txt directives. Being a good citizen reduces the chance of getting IP-banned and keeps your scraper running longer. For a comprehensive set of practical strategies, you can review tips to avoid getting blocked while web scraping.

Exporting Scraped Data to JSON and CSV

Logging results to the console is fine for debugging, but production scrapers need structured file output. Node.js makes this straightforward with the built-in fs module.

JSON export:

const fs = require('fs');
const data = [{ text: 'Example quote', author: 'Author' }];
fs.writeFileSync('quotes.json', JSON.stringify(data, null, 2), 'utf-8');

CSV export:

const header = 'text,author\n';
const rows = data.map(d => `"${d.text}","${d.author}"`).join('\n');
fs.writeFileSync('quotes.csv', header + rows, 'utf-8');

For more robust CSV generation (handling commas inside values, special characters, and large datasets), consider a library like csv-stringify or fast-csv. These handle edge cases such as embedded quotes and multi-line fields that a simple template literal approach will miss.

Choose JSON when downstream consumers are other programs or APIs. Choose CSV when the data is headed for spreadsheets, databases with CSV import, or non-technical stakeholders who want to open the file in Excel. Whichever format you pick, writing data to disk incrementally as you web scrape with Puppeteer and NodeJS (rather than accumulating everything in memory) is critical for long-running jobs that may crash partway through.

Deploying Puppeteer on Servers and Docker

Puppeteer scrapers that work perfectly on macOS often break the moment you deploy them to a Linux server. The headless Chrome browser inherits operating system packages, and Linux servers typically lack the GUI-related shared libraries that Chromium expects.

For Debian or Ubuntu servers, install the missing dependencies:

apt-get update && apt-get install -y \
  ca-certificates fonts-liberation libasound2 libatk1.0-0 \
  libcups2 libdbus-1-3 libgdk-pixbuf2.0-0 libnspr4 libnss3 \
  libx11-xcb1 libxcomposite1 libxrandr2 xdg-utils

For Docker deployments, a minimal Dockerfile looks like this:

FROM node:18-slim
RUN apt-get update && apt-get install -y chromium
ENV PUPPETEER_EXECUTABLE_PATH=/usr/bin/chromium
WORKDIR /app
COPY package*.json ./
RUN npm ci
COPY . .
CMD ["node", "scraper.js"]

Two critical launch flags for containerized environments:

puppeteer.launch({
  headless: true,
  args: ['--no-sandbox', '--disable-setuid-sandbox'],
});

Without --no-sandbox, Chromium will refuse to start inside most Docker containers. These flags are safe in a containerized scraper where you control the input URLs, but avoid them in environments that process untrusted content. Adding your Docker-deployed scraper to a CI pipeline (GitHub Actions, GitLab CI) is straightforward once the container builds and runs correctly. This deployment step is where many developers hit roadblocks, so plan to web scrape with Puppeteer and NodeJS in a containerized environment from the start if you know you will need server deployment.

How to Web Scrape with Puppeteer and NodeJS vs. Using Playwright

If you are evaluating tools for headless browser scraping, you have probably also seen Playwright mentioned. Both libraries share DNA (Playwright was created by former Puppeteer maintainers), but they target different needs.

Feature

Puppeteer

Playwright

Browser support

Chromium, Firefox (experimental)

Chromium, Firefox, WebKit

Language SDKs

JavaScript/TypeScript

JS/TS, Python, Java, C#

Auto-wait mechanism

Manual (waitForSelector, waitForNavigation)

Built-in auto-waiting on most actions

Community plugins

Large ecosystem (puppeteer-extra, stealth)

Smaller plugin ecosystem

Best for

Chrome-focused scraping, existing JS codebases

Cross-browser testing, polyglot teams

If your scraping targets only need Chromium and your team already writes JavaScript, Puppeteer is the simpler, more mature choice with a larger plugin ecosystem. Playwright shines when you need multi-browser support or when you are working in a language other than JavaScript. For a broader survey of options, you can review other Puppeteer alternatives to find the tool that best fits your project requirements.

Regardless of which library you choose, the core concepts covered in this guide (wait strategies, request interception, stealth measures, error handling) transfer directly to Playwright with only minor API differences.

Key Takeaways

  • Puppeteer drives a real Chromium browser through the DevTools Protocol, making it ideal for scraping JavaScript-rendered pages that simple HTTP clients cannot handle.
  • Always use waitForSelector over fixed timeouts, wrap navigation clicks in Promise.all, and add try/catch blocks around page operations to build resilient scrapers.
  • Intercept network requests to capture hidden API JSON payloads directly, bypassing fragile DOM selectors entirely.
  • Layer stealth plugins and proxy rotation to reduce bot detection risk, and pair them with polite scraping practices like rate limiting and robots.txt compliance.
  • Export structured data to JSON or CSV, deploy inside Docker with the correct sandbox flags, and batch concurrent pages to scale beyond single-URL scripts.

FAQ

Why does my Puppeteer scraper behave differently when deployed to a Linux server compared to my local machine?

Linux servers typically lack GUI-related shared libraries that Chromium depends on, such as libx11-xcb, libnss3, and font packages. Install these with apt-get or use a Docker base image that includes them. Also, running without the --no-sandbox flag will cause Chrome to crash on most Linux hosts because the kernel sandboxing requires elevated permissions that containers usually restrict.

How can I persist cookies and session data across multiple Puppeteer scraping runs?

Use page.cookies() to export the current session cookies as a JSON array, then save them to a file with fs.writeFileSync. On subsequent runs, load the file and call page.setCookie(...cookies) before navigating to the target site. This preserves login sessions, preference settings, and CSRF tokens without re-authenticating on every execution.

Legality varies by jurisdiction and the target site's terms of service. In general, scraping publicly available data is permitted in many regions, but violating a site's ToS can carry legal risk. Always check the target's robots.txt file (usually at https://domain.com/robots.txt) and honor its Disallow directives. Add delays between requests and avoid overloading servers with rapid-fire traffic.

How do I handle CAPTCHAs when scraping with Puppeteer?

CAPTCHAs are specifically designed to block automation. Stealth plugins can delay their appearance by masking browser fingerprints, but once a CAPTCHA is served, Puppeteer alone cannot solve it. You can integrate third-party CAPTCHA-solving services through their APIs, or restructure your scraper to reduce detection signals (slower request rates, residential IP addresses, randomized viewport sizes) so CAPTCHAs trigger less frequently.

Conclusion

Puppeteer remains one of the most capable tools for scraping dynamic, JavaScript-heavy websites from a Node.js environment. Throughout this guide, you have learned how to set up a project, extract content with selectors and page.evaluate(), handle pagination and infinite scroll, intercept hidden API responses, apply stealth measures, export structured data, and deploy your scraper in Docker.

The biggest takeaway is that moving from a working prototype to a production scraper requires attention to error handling, concurrency, and anti-detection, not just DOM traversal. Wrapping pages in try/catch, batching concurrent requests, and rotating proxies are the patterns that separate scripts that break after 50 requests from ones that run reliably at scale.

If you find yourself spending more time fighting blocks, CAPTCHAs, and proxy infrastructure than writing extraction logic, that is usually a signal to offload the request layer. WebScrapingAPI's Scraper API handles proxy rotation, browser fingerprint management, and CAPTCHA solving behind a single endpoint, letting you keep your Puppeteer parsing code and just swap out the network layer without rearchitecting the rest of your scraper.

About the Author
Gabriel Cioci, Full-Stack Developer @ WebScrapingAPI
Gabriel CiociFull-Stack Developer

Gabriel Cioci is a Full Stack Developer at WebScrapingAPI, building and maintaining the websites, user panel, and the core user-facing parts of the platform.

Start Building

Ready to Scale Your Data Collection?

Join 2,000+ companies using WebScrapingAPI to extract web data at enterprise scale with zero infrastructure overhead.