TL;DR: This is an opinionated, end-to-end guide to web scraping with Scrapy in 2026. You will install Scrapy, prototype selectors in the shell, build a multi-page e-commerce spider, clean items with Item Loaders, persist to a database, harden settings against bans, and bolt on Scrapy-Playwright for JavaScript-rendered pages.
Scrapy has been the backbone of serious Python crawling for over a decade, and despite a wave of newer async libraries it still earns its keep. If you are doing web scraping with Scrapy today, you get an opinionated framework that solves the boring parts (request scheduling, deduplication, retries, item pipelines) so you can focus on the parts that actually break: selectors, anti-bot, and storage.
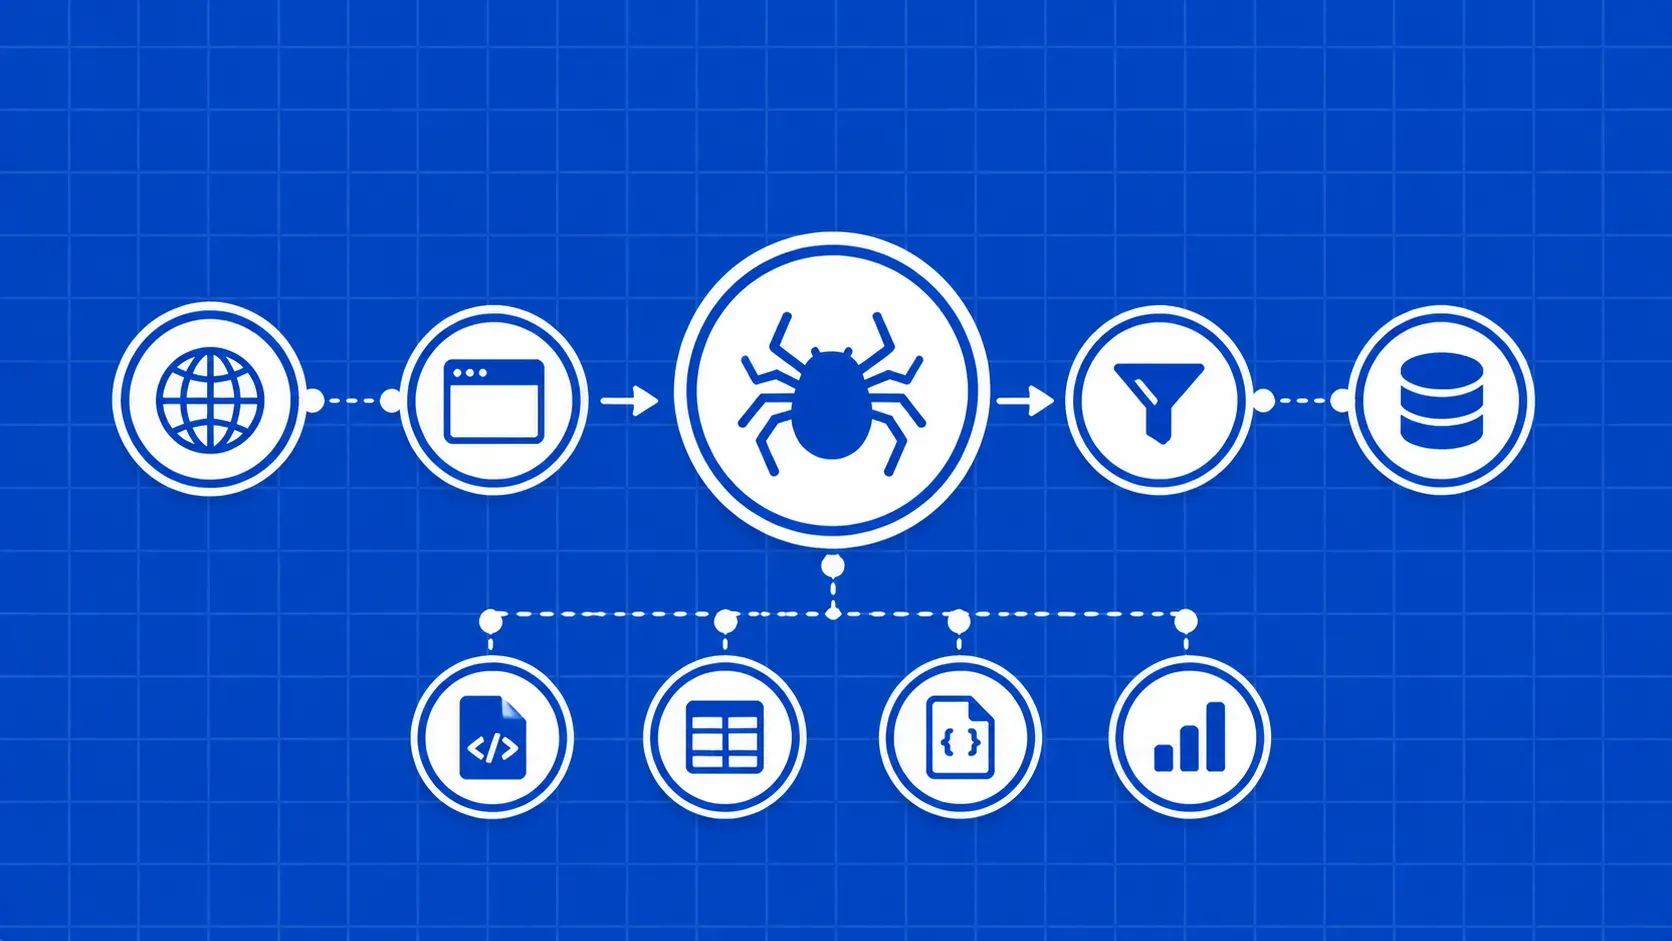
This guide is structured around the request and response lifecycle rather than a chronological build-up. Every section maps to a Scrapy component you will touch in production, from the engine and downloader middlewares down to Item Loaders and feed exports. We use a single target throughout, the public practice site books.toscrape.com, so every code block fits into one mental model.
By the end you will have a runnable spider that paginates a catalog, validates and cleans items, writes to both JSON Lines and SQLite, retries on 429 storms, and falls back to a real browser when a page needs JavaScript. We will also flag the parts of the framework that newcomers consistently misuse, with copyable fixes.


