TL;DR: Playwright gives you full browser automation for scraping JavaScript-heavy sites, with first-class support for both Python and Node.js. This guide walks you through installation, element extraction, proxy configuration, anti-detection, pagination, image downloads, and exporting data to CSV or JSON, all with side-by-side code examples in both languages.
If you have tried scraping a modern single-page application with a simple HTTP client, you already know the pain: the HTML you get back is an empty shell, and the data you want lives inside JavaScript that never executes. Playwright web scraping solves this by driving a real browser (Chromium, Firefox, or WebKit) programmatically, letting your script see exactly what a human visitor would see.
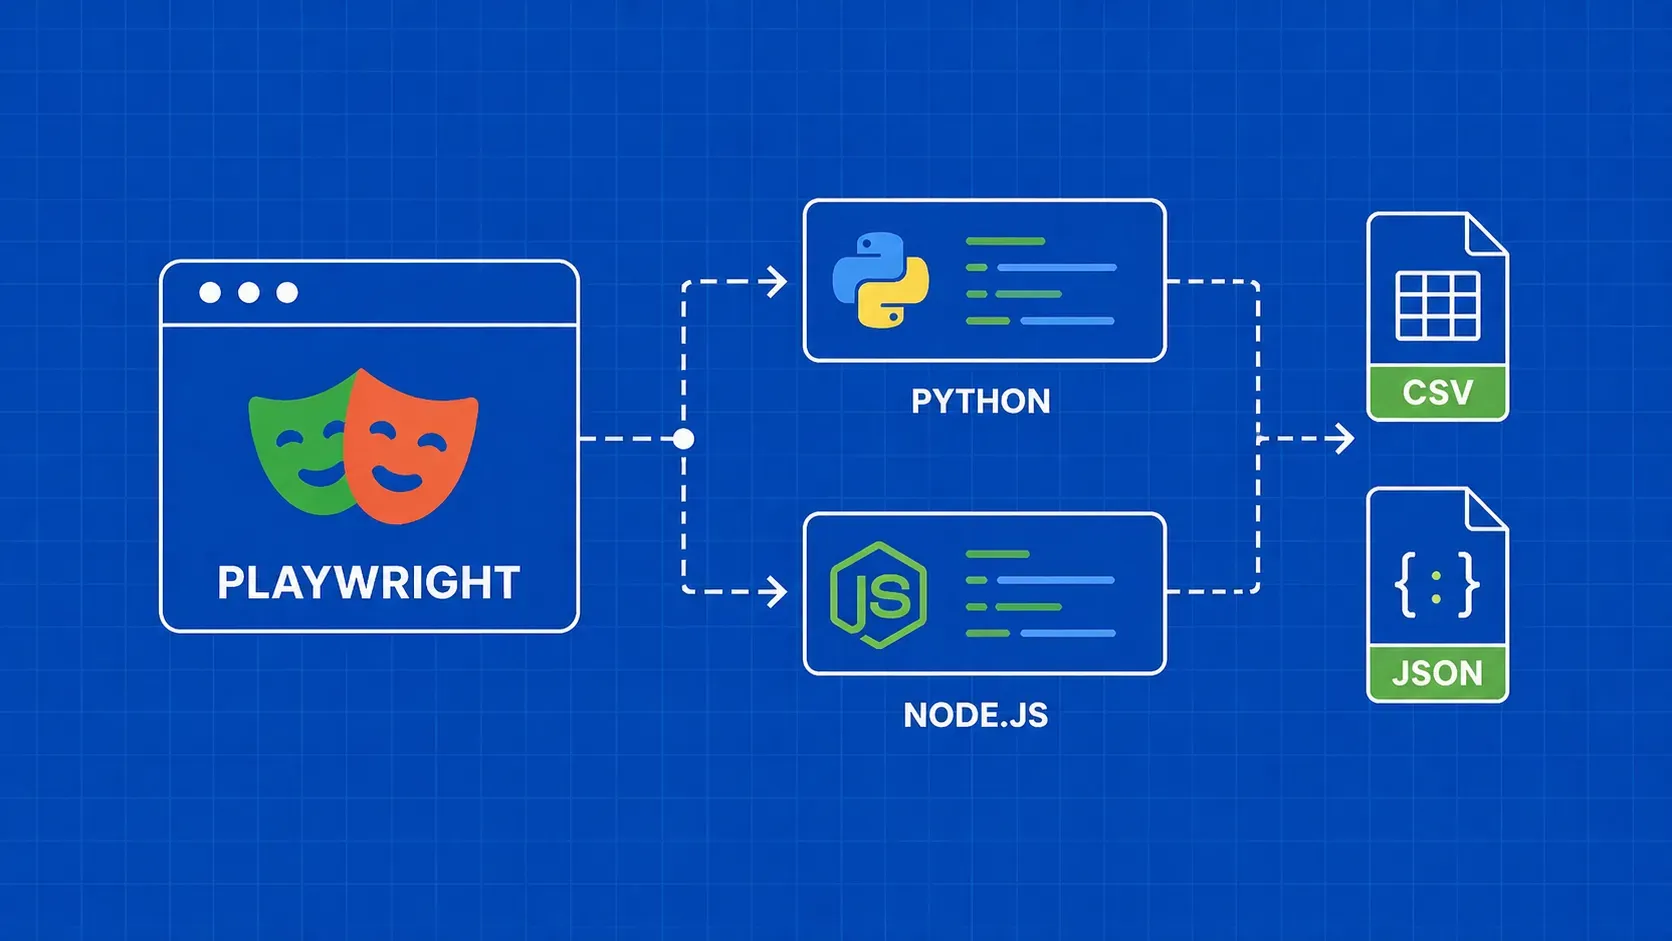
Playwright is an open-source browser automation framework maintained by Microsoft. Unlike older tools, it ships with built-in auto-waiting, network interception, and support for multiple browser engines out of the box. Whether you write Python or Node.js, the API surface is nearly identical, so you can pick whichever language fits your stack.
This guide covers everything you need to go from a blank terminal to production-ready playwright scraping scripts: setup, selectors, text and image extraction, pagination, request interception, proxy configuration, stealth techniques, error handling, and structured data export. Every technique includes code for both Python and Node.js.


